Connecting Multiple Solar Panels to a Charge Controller: How?
Integrating multiple solar panels into a single charge controller is a critical step in setting up an efficient and effective solar power system. Whether you're aiming to power a small off-grid cabin, an RV, or a residential home, understanding the correct way to connect your panels to your charge controller can significantly impact your system's performance. Here’s how you can accomplish this task with confidence.
Understanding Your System's Requirements
Before connecting your solar panels to a charge controller, you must understand your system's voltage and current requirements. Charge controllers come in different capacities, typically ranging from 10 amps to 60 amps or more, and are designed to handle specific voltage levels, such as 12V, 24V, 48V, etc. The total voltage and current output of your solar panel array should match the specifications of your charge controller to ensure optimal performance and prevent damage.
Choosing the Right Connection Method
There are two primary ways to connect multiple solar panels to a charge controller: in series or in parallel.
- Series Connection: Connecting your panels in series involves connecting the positive terminal of one panel to the negative terminal of another, increasing the system's overall voltage while keeping the current (amps) the same. This method is ideal for charge controllers designed to handle higher voltage inputs and is particularly effective in minimizing voltage drop over long distances.
- Parallel Connection: Connecting your panels in parallel involves connecting all positive terminals together and all negative terminals together, increasing the overall current while maintaining the voltage of a single panel. This method is suitable for systems where the charge controller can handle higher currents and is beneficial when the system's design prioritizes high amperage.
Calculating Total Voltage and Current
To ensure compatibility, calculate the total voltage and current of your solar panel array based on your chosen connection method. For series connections, add the voltages of each panel together and keep the current the same as a single panel. For parallel connections, keep the voltage the same as a single panel and add the currents together. This calculation will help you select a charge controller that can handle the total output.
Wiring and Safety Measures
Use appropriate gauge wiring to handle the expected current, and consider using MC4 connectors for easy and secure connections between panels. Always install inline fuses or circuit breakers between your solar panel array and charge controller to protect against overcurrent situations. Ensure all connections are tight and secure to prevent arcing and potential fire hazards.
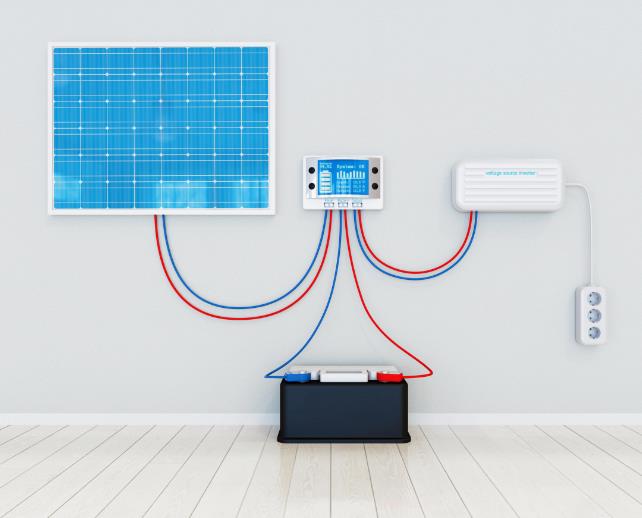
Monitoring System Performance
After connecting your solar panels to the charge controller, monitor your system's performance to ensure everything is working as expected. Modern charge controllers often feature built-in monitoring capabilities, allowing you to track energy production, system health, and more.
How to Connect Multiple Solar Panels to Charge Controller: Conclusion
Connecting multiple solar panels to a single charge controller is a straightforward process when you understand your system's requirements and choose the appropriate connection method. By ensuring compatibility between your solar panel array and charge controller, using the correct wiring practices, and implementing safety measures, you can build a solar power system that is efficient, safe, and reliable. Regular monitoring and maintenance will help you maintain optimal system performance and harness the power of the sun more effectively.